Reply 20 of 41, by pewpewpew
- Rank
- Oldbie
wrote:then don't use the plastic standoffs. An AT board can be attached with metal standoffs and screws just the same as an ATX board.
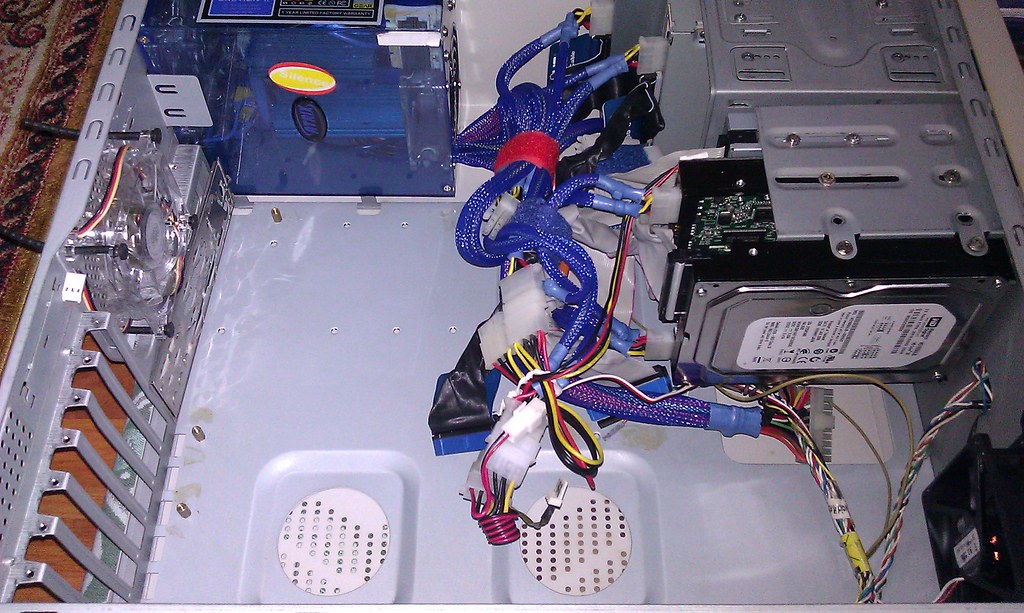
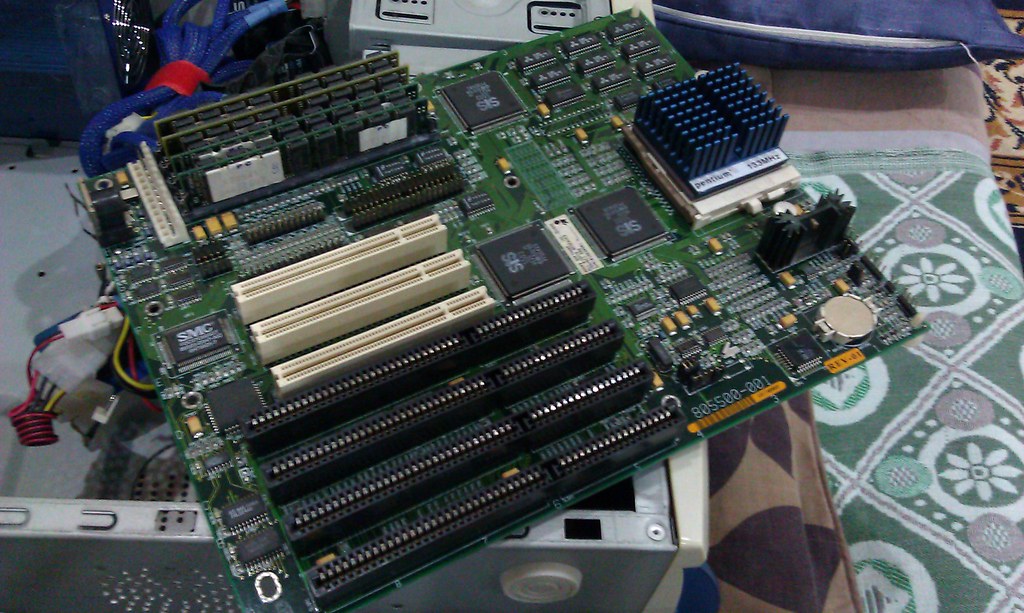
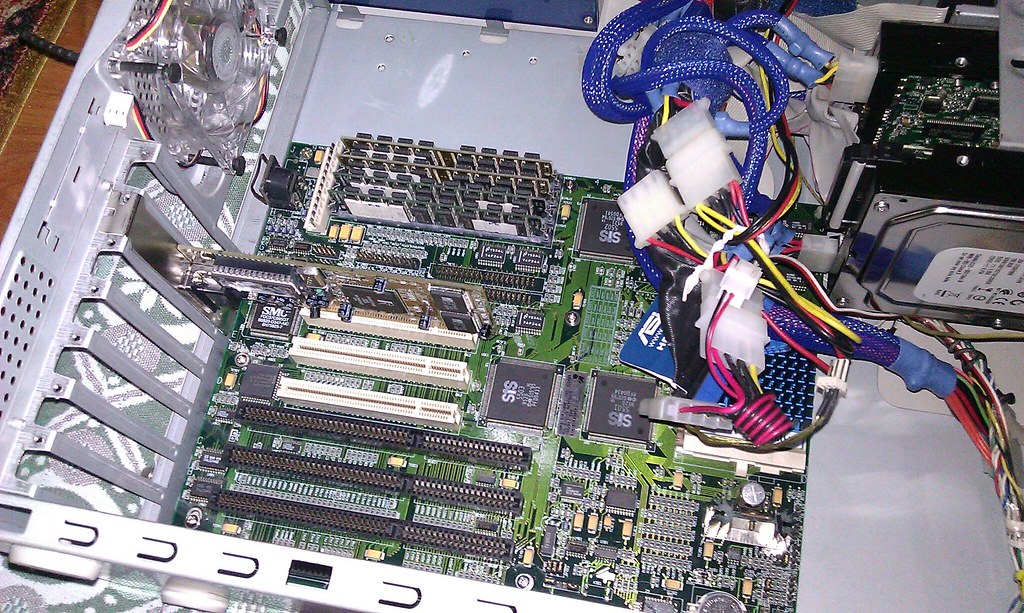
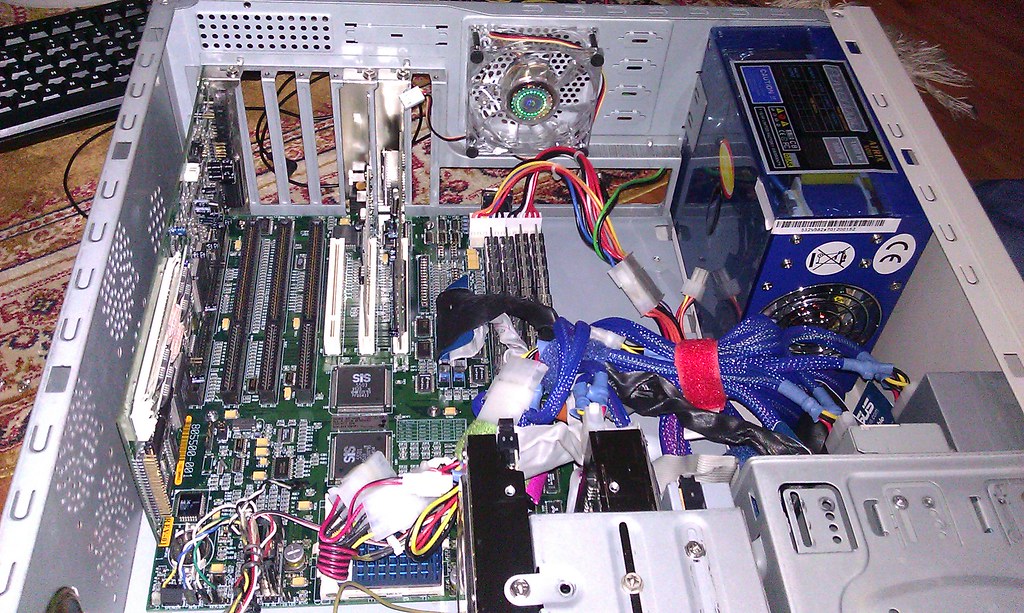
...However, keep in mind that no ATX case is going to be perfect... AT boards are 8 slot, ATX cases only have 7, so you'll lose use of the top expansion slot.
Possible caution: you may need to electrically isolate those standoffs. Note that you can get nylon standoffs in the same sizes as the metal ones. Try Digikey and Mouser in North America. Or just your scrap bin; I've got a few from something. Or just thread screws into drilled blocks of plastic/wood - experiment with what you have on hand.
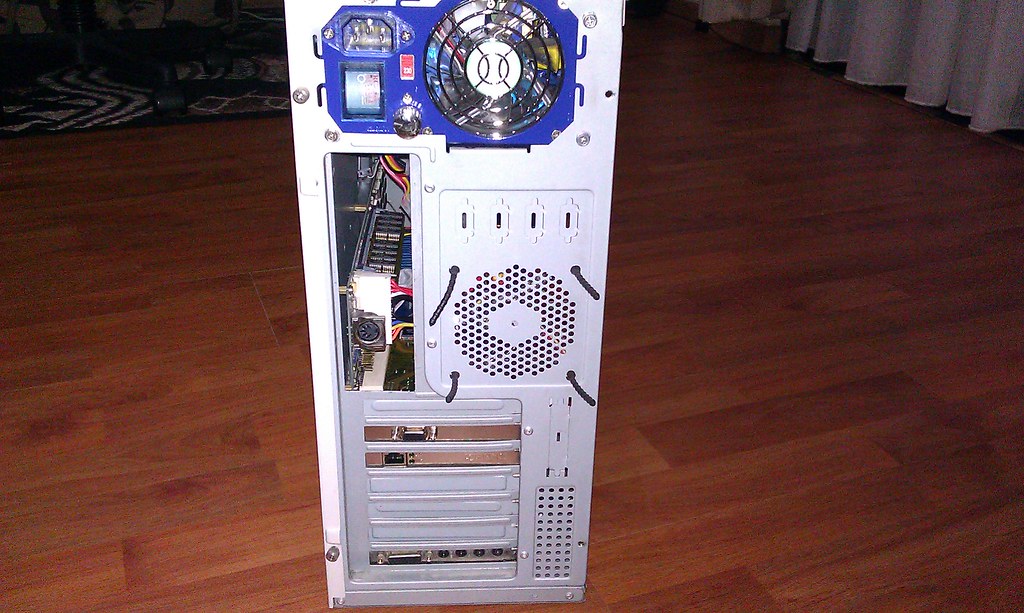
You'll have to do more-interesting tin-work to make everything line up at the back.
Don't get too intimidated by that idea. If it's a first project, take your time and figure on making some mistakes to learn things. But most of the metal in the new cases is very thin stuff.
Remind yourself that Hams used to build nice radio chassis with an egg-beater hand-drill, a coping saw, and a couple of files. And they used much thicker metal.
Also for the back - in places where you need coverage rather than strength, you can use very thin sheet like old Macs used for shielding. You can cut that with good scissors.
Also you can get aluminum cheap by the foot from builder-supplies - they sell it in rolls for soffits. Usually painted white or brown on one side, natural on the other. You cut this by scoring it with a utility knife then bending it to break. Drill it by sandwiching it between two pieces of scrap wood to stop deformation.
Etc..
Disclaimer - I trained for aircraft aeons ago, and have worked as a cabinetmaker and carpenter. This is what I'm good at, rather than the electronic and the digital. So I've got a different viewpoint. This may not be an adventure you're interested in.
But a lot of times people just let themselves get too intimidated. My advice is experiment -- make your first bends and holes on scrap pieces to get the hang of it. When people start this sort of thing they just get too wound up about getting things perfect on the first go, instead of letting themselves learn, so they never start.
All you need to do here is match what's happening mechanically and electrically in an AT case.
Also note that the cases are often held together by rivets. You can drill rivets out. Use an oversize drill to go gently down to mere decapitation of the rivet on the near side. Push it out the other. Then you can use a nut and bolt, or pop-rivet, for reassembly. Add that option to your mental tool-set when you're looking at what you want to change.
Er, sorry. The ideas just start coming once someone asks a question like this. For me it's like I'm a dog and you've thrown a ball. 😀
EDIT (already):
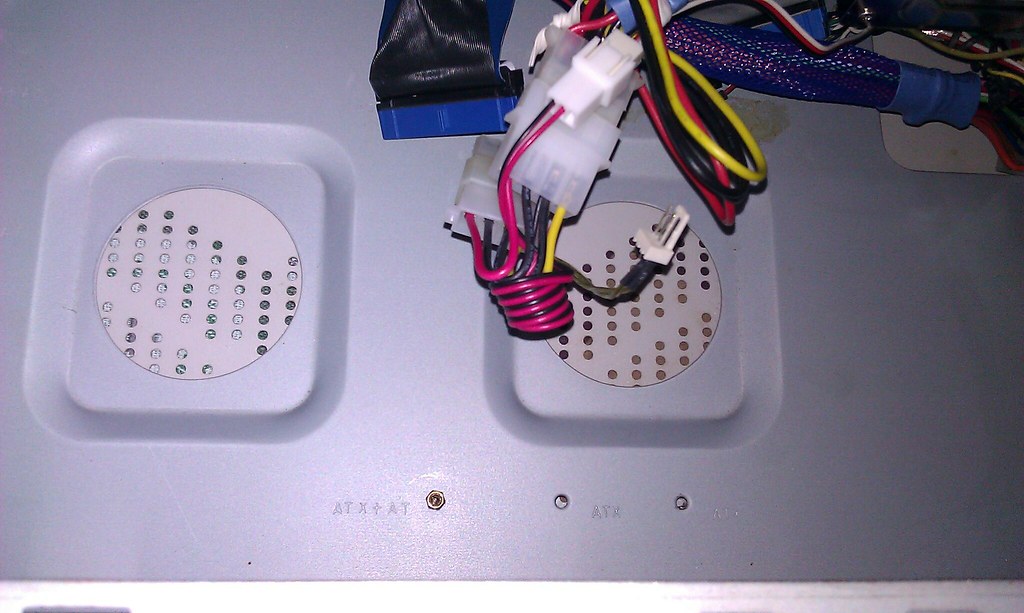
The big deal will be getting good alignment between the back plate and the mother-board mounting-plate.
If it's not good, then when you screw down the ISA cards, you'll pull them out of their slots a little or a lot. Probably you've already run into this with warped cheap cases once.
I'd say reference the back plate first, and adjust the motherboard plane by adding washers to the standoffs if necessary. If more than a couple of washers, use different standoffs.
EDIT (again, yikes)
You can probably find dimensioned drawings online for AT cases. Treat these with caution, rather than definitive. It'd be better to modify an ATX case using dimensions from a known good AT case alongside. If you don't have that physical reference, then proceed cautiously. Consider drawings as Good Advice rather than Final Word and keep your eyes open. Do lots of test fits. I'm going to try to shut up now.
3rd EDIT
When I say washers above, I mean the little red fiber ones that you've probably collected a number of already. Don't use metal washers against the back of your motherboard to adjust that plane.